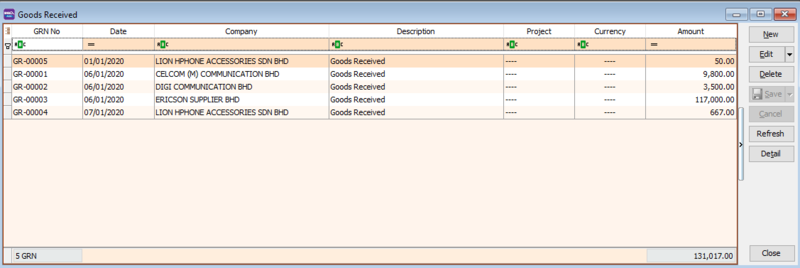
Menu: Purchase | Goods Received.
Introduction
- Goods Received is a document that is issued after receiving the delivery as proof of the order receipt.
Goods Received- Entry
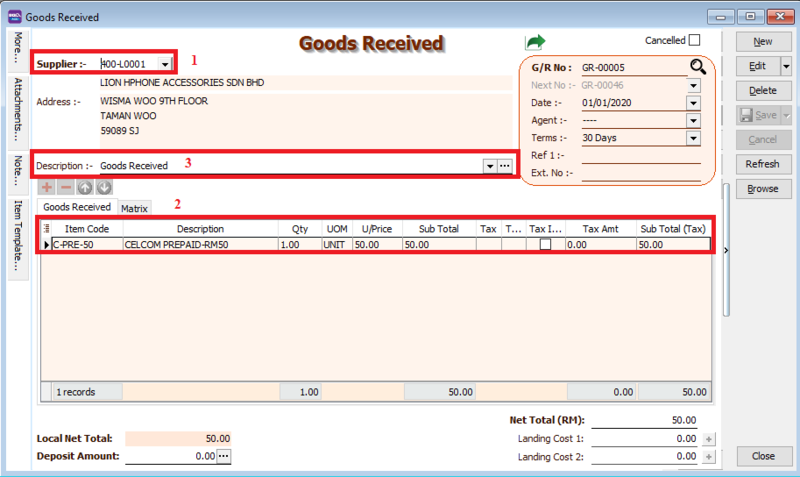
- 1. Click on New button.
- 2. Select the supplier Name.
- 3. Select the items that you want to purchase
- 4. Write a description to explain your purchase
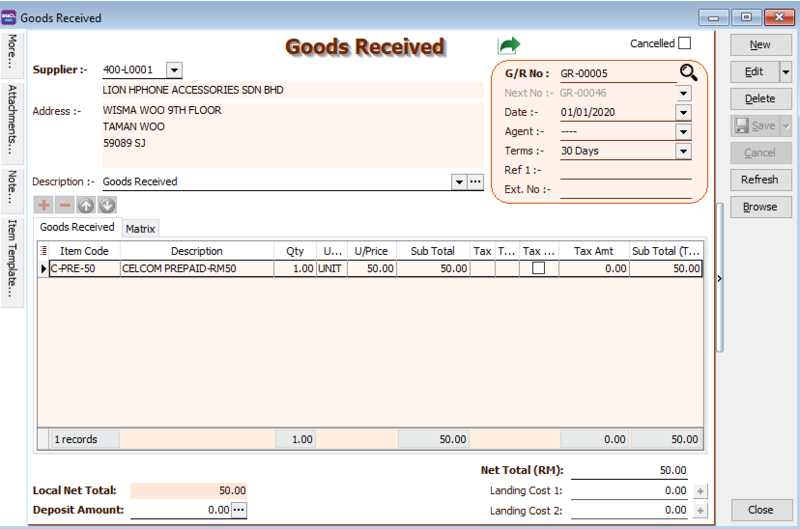
- 5. Click the Save button once you are done. Below is the example of the entry created:
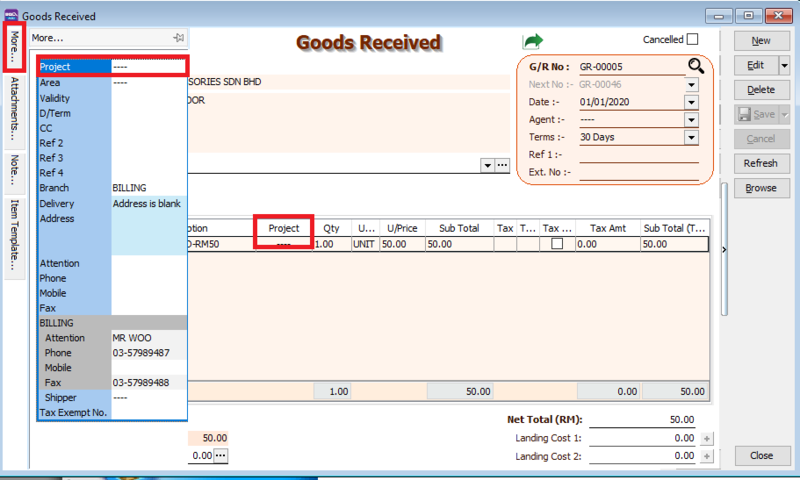
Goods Received- More : Project
- There are 2 types of project you need to be take note.
- Document Project
- Detail Project
- For document project, you need to point to MORE section (on the left side bar).
- For detail project, you have to insert the project column out from Field Chooser.
Goods Received- Attachment
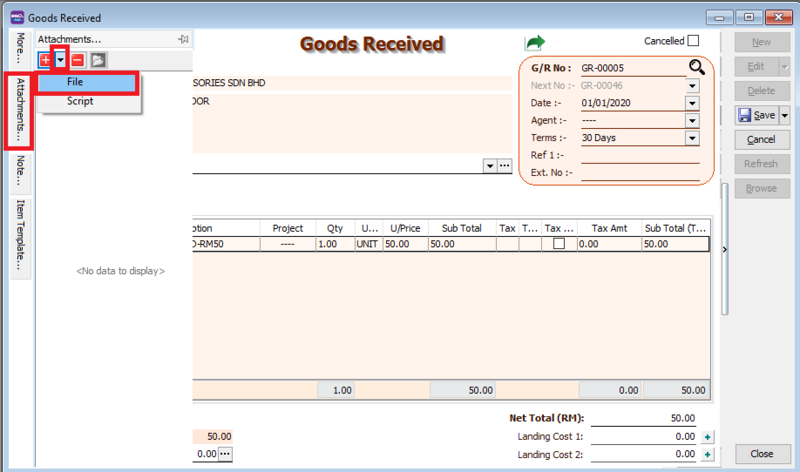
You can use this feature to attach external PDF, excel, word documents and image files.
- 1. Go to the left of the screen and click "Attachment"
- 2. Click the small black arrow at the red plus icon
- 3. select File , and choose the file form your computer that you want to attach
Goods Received- Note
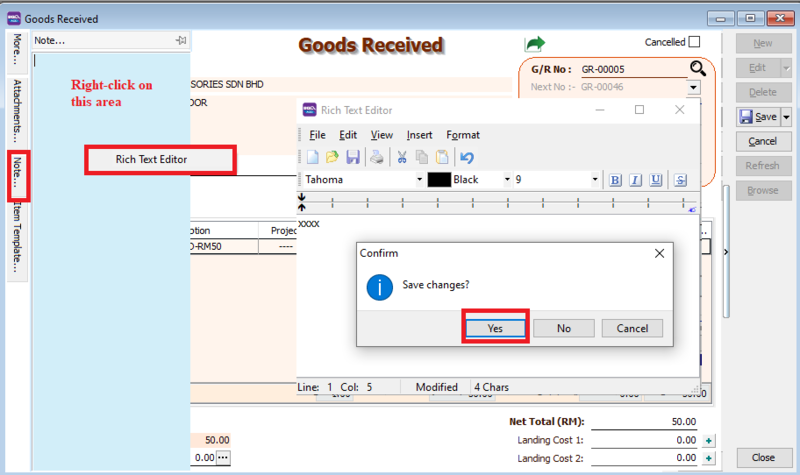
- 1. Click on the Note section (on the LEFT side bar).
- 2. RIGHT click it, you will see the Rich Text Editor pop-up.
- 3. You can start key-in the note. See the example screenshot below.
- 4. Click on X button to save and exit the Rich Text Editor.
- 5. You will get prompted the Save changes? message. Click YES to save it.
Goods Received- Report
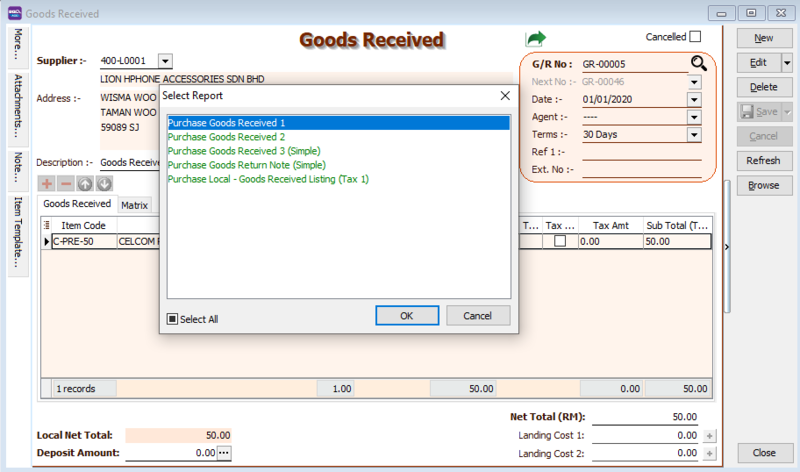
- After saving your goods received ntoe, you can preview your report. Press the preview icon to preview your report
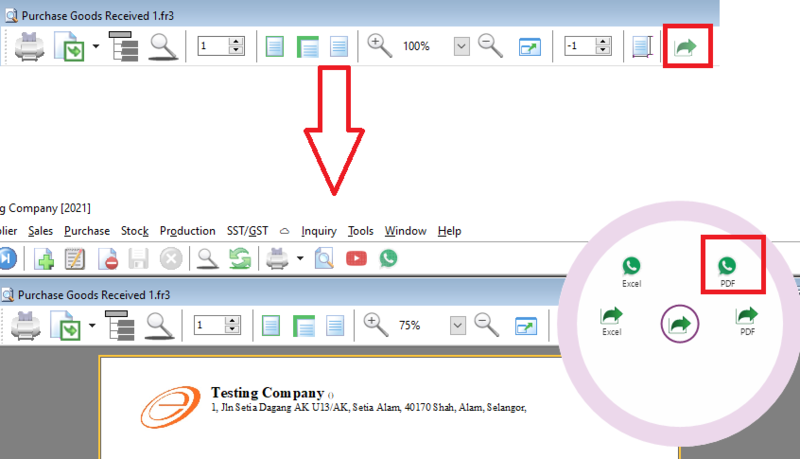
- You can print, export your report, or send it to your customer via whatsapp.
How to send report via Whatsapp
A QR code will appear on the screen. Scan the QR code with your Whatsapp's WhatsappWeb function
