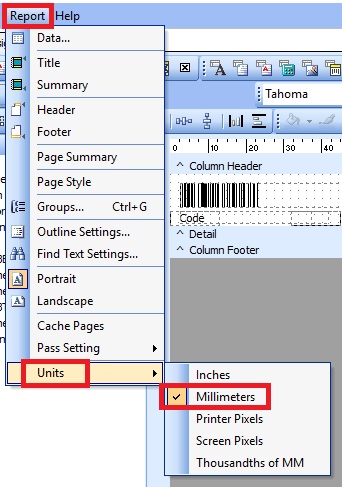
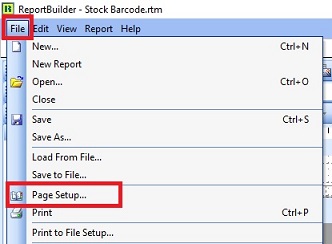
| Line 59: | Line 59: | ||
::[[File:Tools-Print Bar Code-WinPrinter-14.jpg |500px]] | ::[[File:Tools-Print Bar Code-WinPrinter-14.jpg |500px]] | ||
<br /> | <br /> | ||
:7. Save the report with another name. | :7 To fix label each page contains 1 barcode of an item. Right click on '''Detail''' band, select '''Position'''. | ||
::[[File:Tools-Print Bar Code-WinPrinter-15.jpg |500px]] | |||
<br /> | |||
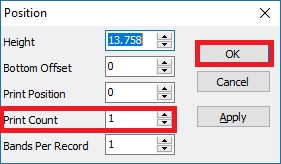
:8. Set '''Print Count''' to 1. | |||
::[[File:Tools-Print Bar Code-WinPrinter-16.jpg |500px]] | |||
<br /> | |||
:9. Save the report with another name. | |||
Revision as of 08:33, 1 August 2017
Menu: Tools | Print Bar Code (Windows Printer)
Introduction
Update Item Bar Code Listing
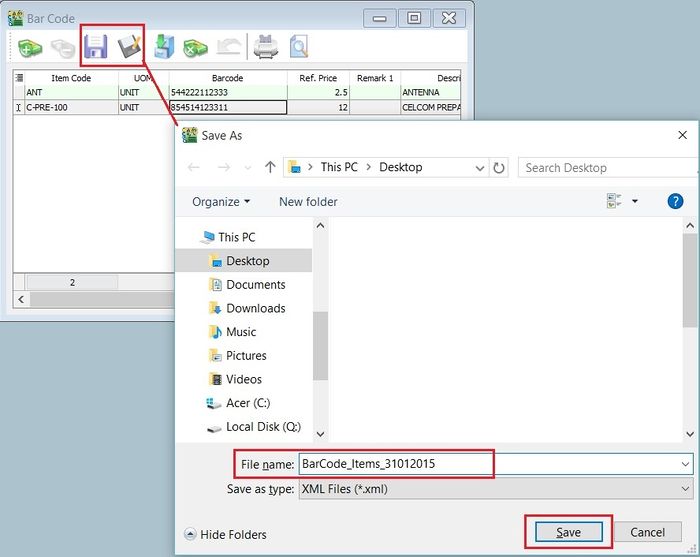
- 3. Click the SAVE button to save the item bar code listing. Type a file name (eg. BarCode_Items_31122015) to save. See the screenshot below.
Load the Previous Item Bar Code Listing
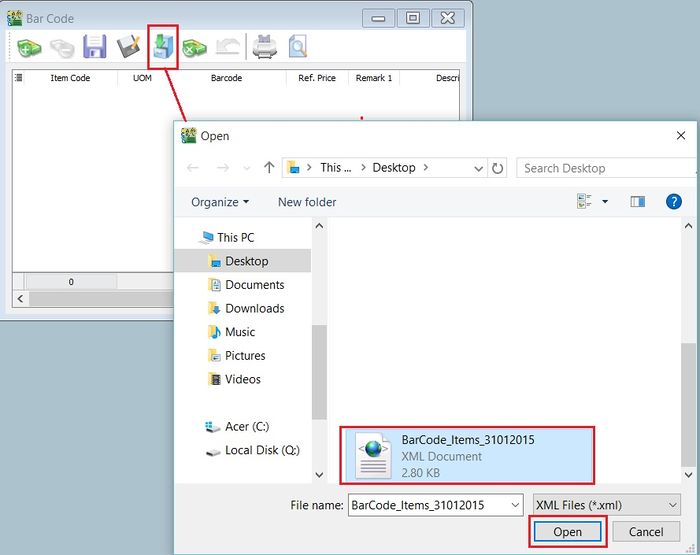
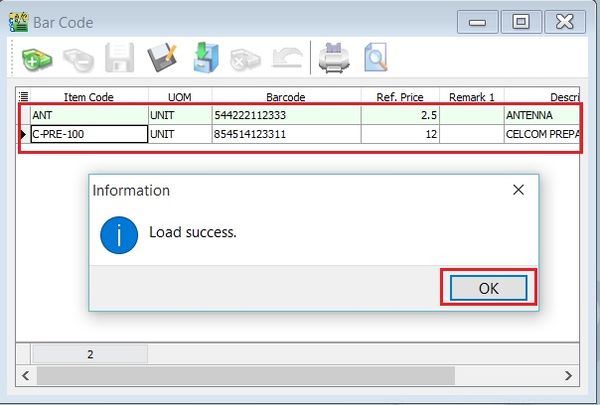
- 1. Click on a Carbinet button to load from the previous file for item bar code listing (eg.BarCode_Items_31122015). Click on OPEN.
- 4. You can continue update the new items and save as new file name.
Preview/Print the Bar Code Label
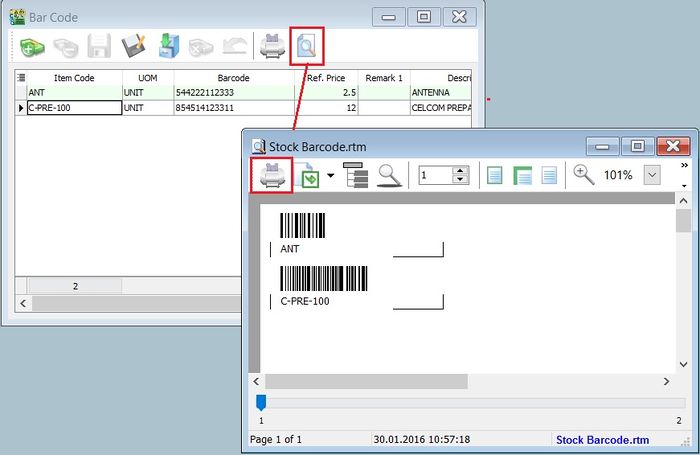
- 2. After the preview, click on Printer button to print.
How to Change the label size (mm) measurement for the Bar Code Label
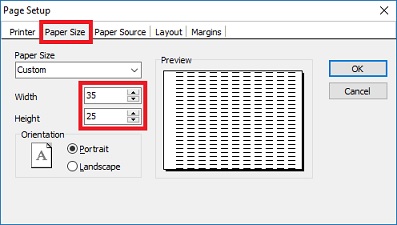
- 4. Click on Paper Size tab, change the Width and Height to 35 and 25 respectively (mm), eg. the label paper size is 35mm x 25mm.
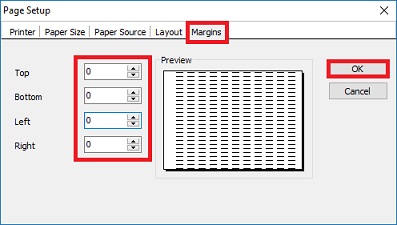
- 6. Check the Margin tab as well to make sure all (Top, Bottom, Left, Right) are set to value = 0 . Click OK to exit Page Setup.
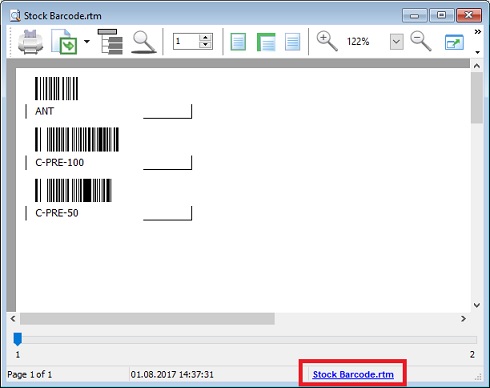
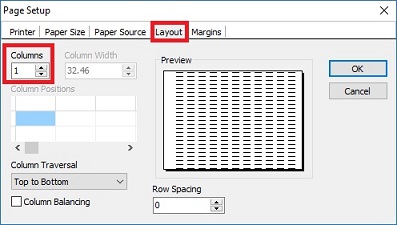
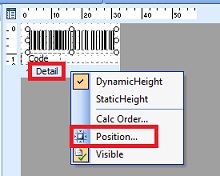
- 7 To fix label each page contains 1 barcode of an item. Right click on Detail band, select Position.
- 9. Save the report with another name.
